
Simple Tutorial on How to Transfer Photos to Canvas
This post includes affiliate links. If you decide to make a purchase through my link, I might get a small commission for it at no additional cost to you. Thank you for supporting Upcycle This DIY That!
Some time ago, I wrote a post about how to transfer photos to wood with glue and other amazing methods. It became quite popular, so I’ve decided to write this complimentary post for those of you who want to know how to transfer photos to canvas.
You can then create a beautiful piece of art with your favorite photos that you can give to your loved one as a Valentine’s Day gift or hang on the wall.
YOU MAY ALSO BE INTERESTED IN:
3 Easy Ways How To Transfer A Pattern From Paper To Wood: A Quick Guide
6 Simple Ways How To Transfer Photos To Wood To Get Awesome Results
It’s pretty easy and only requires a few simple steps and some materials.
If you want to transfer a single photo, you can skip this step, keeping in mind to mirror the image before printing, especially an image with text. For those who want to play a bit more and create a funky canvas collage, follow the instructions below.
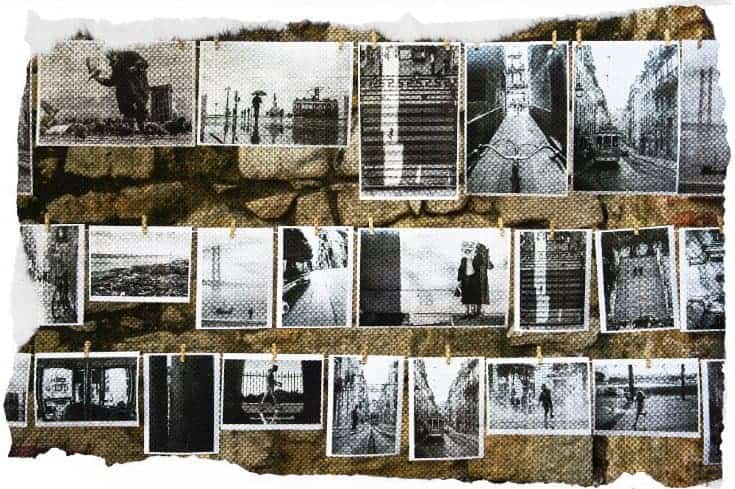
The first step is to create a photo collage. There are several ways of approaching this. You can create a collage online using a tool like befunky.com. Or you can use MS Paint in Windows/Paintbrush for Mac and paste the images, which will give you more freedom in arranging the pictures(make them smaller or tilt them, etc.).
Another option is to print your images mirrored(especially when you’ve got words to transfer) and arrange them directly on the canvas. Any of these solutions are good.
How to transfer bigger images to Canvas?
If your canvas is bigger than the A4 format(regular printing paper size), you can print it somewhere like a printing shop, or you can use your home printer.
How do you do that?
It’s very simple. Upload your collage/image to Block Posters, and it will split your image into several A4 formats. Then, print it and put it back together on your canvas.
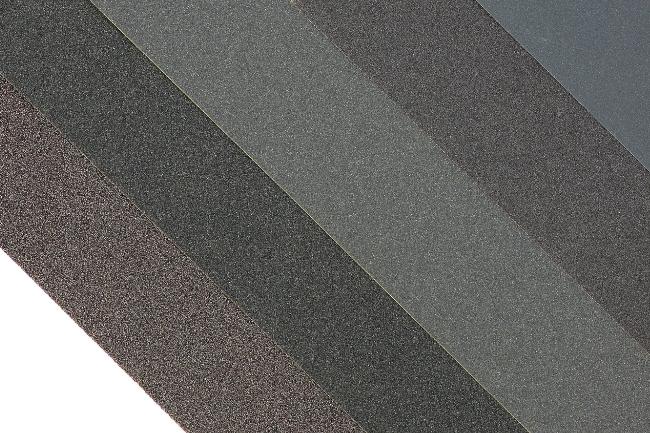
What paper to use to transfer images to canvas?
Although I highly recommend printing the image(s) on a laserjet printer, the inkjet printer will also work. However, the results will be much more distressed. If you want to use color images, print them on photo paper and make color copies on regular paper.
This way, the quality will be a lot better. Don’t use photo paper directly to transfer the image because it simply won’t work.
What do I need to transfer photos to Canvas?
You can use any gel medium like Liquitex or Golden. Then, when you’ve got your pictures ready, apply a generous layer of a gel medium to the canvas and place the photo(s) face down.
Make sure you’ll get out all the air bubbles. You can use a credit card, or something similar, to smooth the paper out. Let it dry, preferably overnight.
Materials needed:
- gel medium like Liquitex or Golden
- a paintbrush
- canvas
- old credit card or plastic scraper
- spray bottle or wet cloth
- printed photos or
- laser printer
Can I use mod podge?
Technically yes, you can. And while you can successfully use it for transferring photos to wood with canvas, the results may not be as good as using the medium gel. You’ll end up with a more distressed look. But give it a try if that’s what you’re after, and let me know how it went 🙂
Once it’s dry, get a spray bottle and apply water on the paper. Then thoroughly wet, gently rub the paper off with your fingers, and the image will be revealed.
Don’t worry if some parts of the photo will rub off as well. That’s just the way it is. Keep going until the paper layer is gone. Once it dries, the colors might be a bit pale/bland.
To revive the color depth, you can use a veggie oil trick. With a clean cloth, wipe a bit of oil on the canvas. The colors should be deeper and more vivid. Then seal it with another coat of the medium, let it dry, and it’s done.
I hope you like this quick and simple tutorial. If you give it a go, I’d love to see your results:) I’ll be happy to include them in this post.
Don’t forget to check my post on how to transfer photos to wood to learn how to make awesome wooden projects/gifts!
Don’t forget to pin this post to your DIY crafts board!
Subscribe To My FREE DIY Newsletter!
Stay in touch and receive things like updates, special offers, new projects, tips, gear reviews, and more. No spam, promise!
By entering your email address, you agree to get an email newsletter from UpcycleThisDIYThat. I’ll respect your privacy, and you can unsubscribe at any time. For more details, review our Privacy Policy.
Can u use a photo that u get printed off from a photo lab or do u need to print on normal paper?
Hi Ashley, thanks for stopping by!
Regular photo paper won’t work, I’m afraid. However, you can have the copies printed in the photo lab and then copied in color on regular paper. If you have digital versions of your images, all you need to do is print them on a laserjet printer(inkjet printer will work as well, but the results will be a lot more distressed) using normal paper. I hope that helps.
Can you use a photo
Unfortunately, a regular photo won’t work. It has to be a copy(a laser printer is best), or you could use a T-shirt iron on transfer paper and use an inkjet printer. This way, you can iron the image onto the canvas instead of transferring it with the medium gel.
Hi I’ve been trying to do transfer images onto wood but been disappointed with the results so I’m hoping to invest in a laser printer, so was wondering if you had any advise as to which printers are great but not costly to buy x
Hi Tracey,
First of all, let me ask what exactly you have problems with when doing the transfers. Have you checked my post on photo transfers to wood? Before you spent $100 or more on a laser printer, maybe we could do some troubleshooting. Let me know what you think 🙂
Hi. Can I use thick wrapping paper for this- found a lovely abstract paper I would like to use
Hi Jan,
I’m sorry for the late reply. I wasn’t notified of any comments! As for your question, I honestly don’t, as I’ve never tried it. It really depends on how and what was used to print the design on this paper, as it is the ink/toner that gets transferred onto canvas. Then you have to remember that the thicker the paper, the more tricky/longer the process of “scrubbing” it off after transfer to reveal the design. I hope this helps, and I’m sorry again for not replying sooner.
I have a really hard time rubbing off the paper. How long do I wait before applying water to the paper? I use printer paper and as soon as I put it on the canvas it bubbles and wrinkles and I ruin it by trying to smooth it. I use stretched framed canvases. Maybe there are two sides to the printer paper – one being better than the other?!
Hi Anita,
I’m sorry for the late reply. I have been away for some time. As for your question. I usually use regular printer paper and wait for it to completely dry before wetting it and rubbing it off. Usually 12-24h. You could try a thicker paper so it won’t get soaked with the medium as fast, and then use a credit card to smooth out. Stretched canvas is fine. I used them as well.
Just keep in mind that whatever medium you use for the transfer, it should be a pretty thick uniform layer. And as soon as you put the paper down onto the canvas, you need to remove all the air bubbles and smooth them out. You might have the medium coming out on the sides, but that’s perfectly fine.
I hope this helps! Let me know if you have any other questions :))