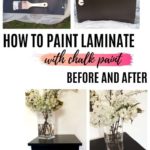
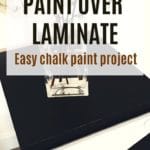
Painting Laminate Furniture Part 1- Chalk Paint Malm Nightstand Makeover
This post includes affiliate links. If you decide to make a purchase through my link, I might get a small commission for it at no additional cost to you. Thank you for supporting Upcycle This DIY That!
This is the first of several makeovers I’m planning on doing within the next few weeks. I planned to makeover/upgrade our living room furniture some time ago, and now I finally got the time. I started with the smallest project first – the Malm side table/nightstand from Ikea.
Actually, two of them. In this post, I’ll show you how I did it and how painting laminate furniture with chalk paint can transform a dull piece into something more interesting. At least in my opinion 🙂
YOU MAY ALSO BE INTERESTED IN:
Painting Laminate Furniture Part 2-Ikea Billy Bookcase Makeover
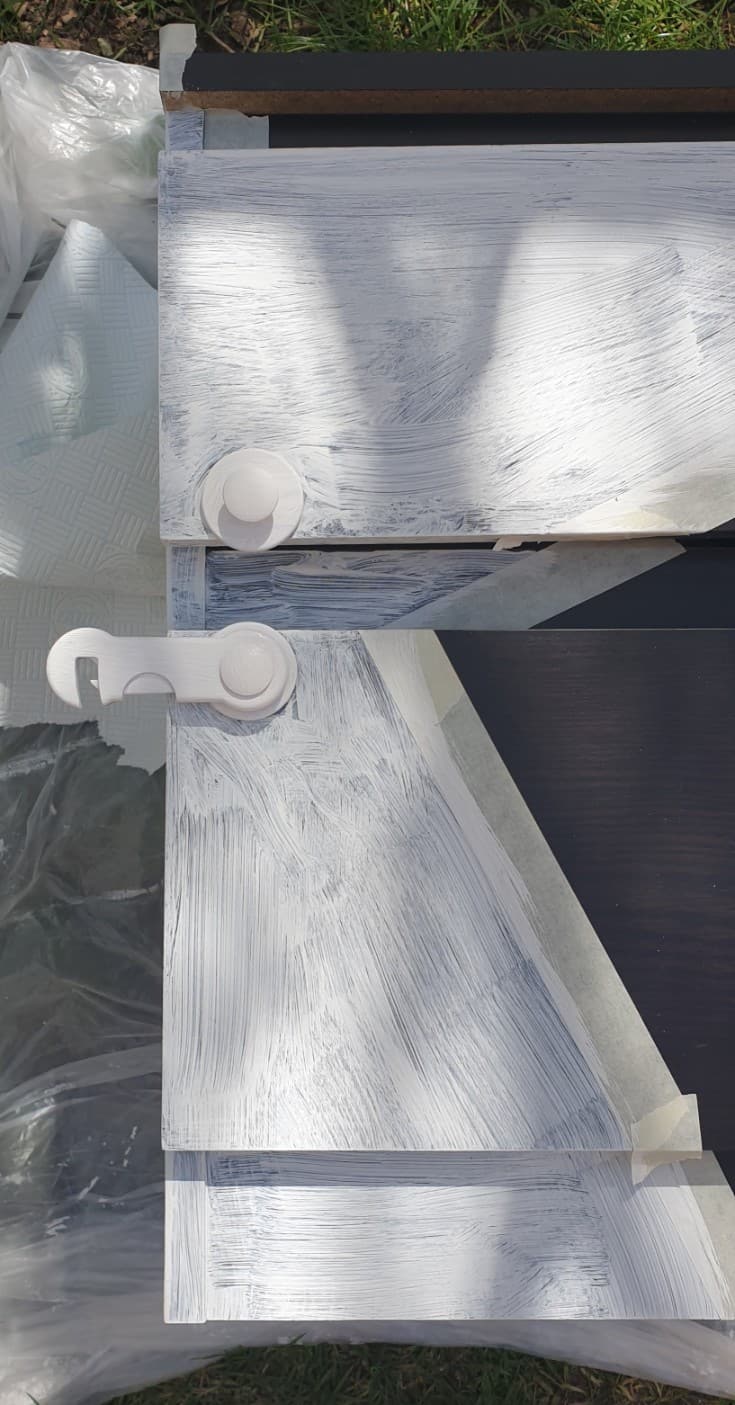
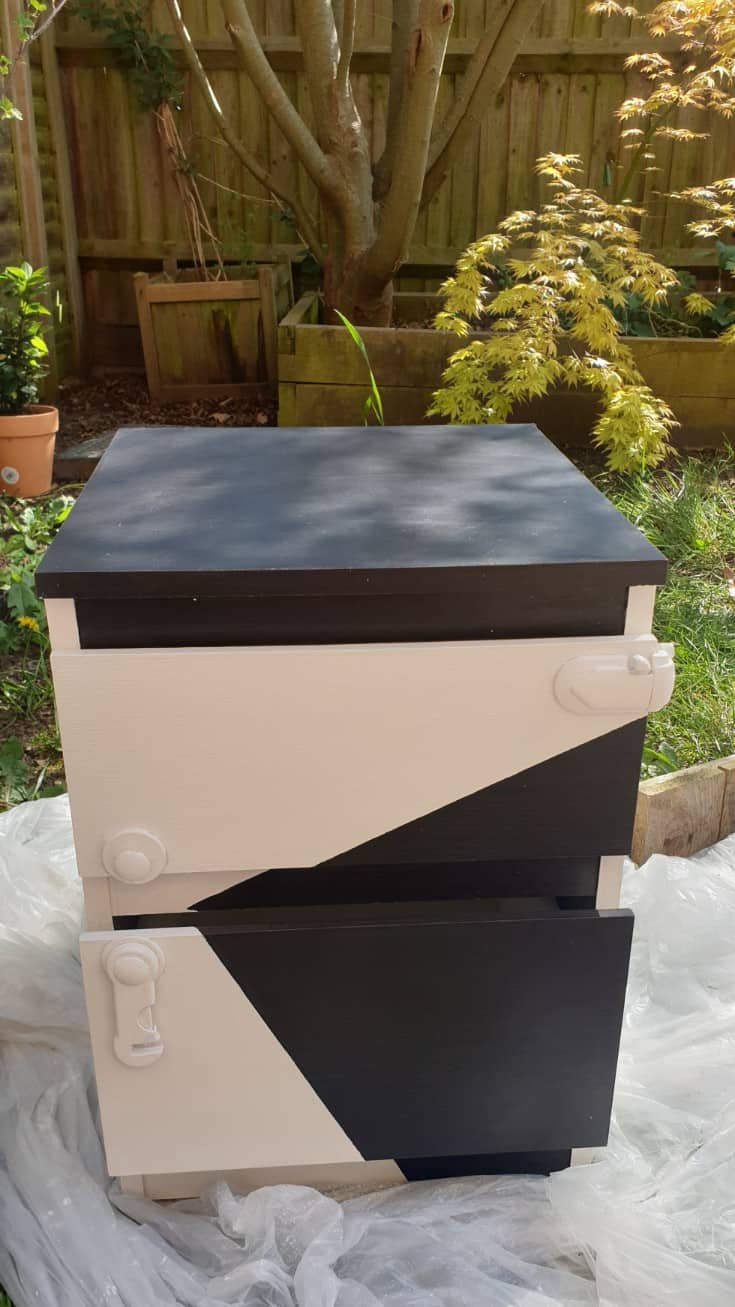
I was wondering for a while how I should approach this and what look I want. And I decided that while I was not going for a distressed look, I didn’t want them to be completely plain and just painted white.
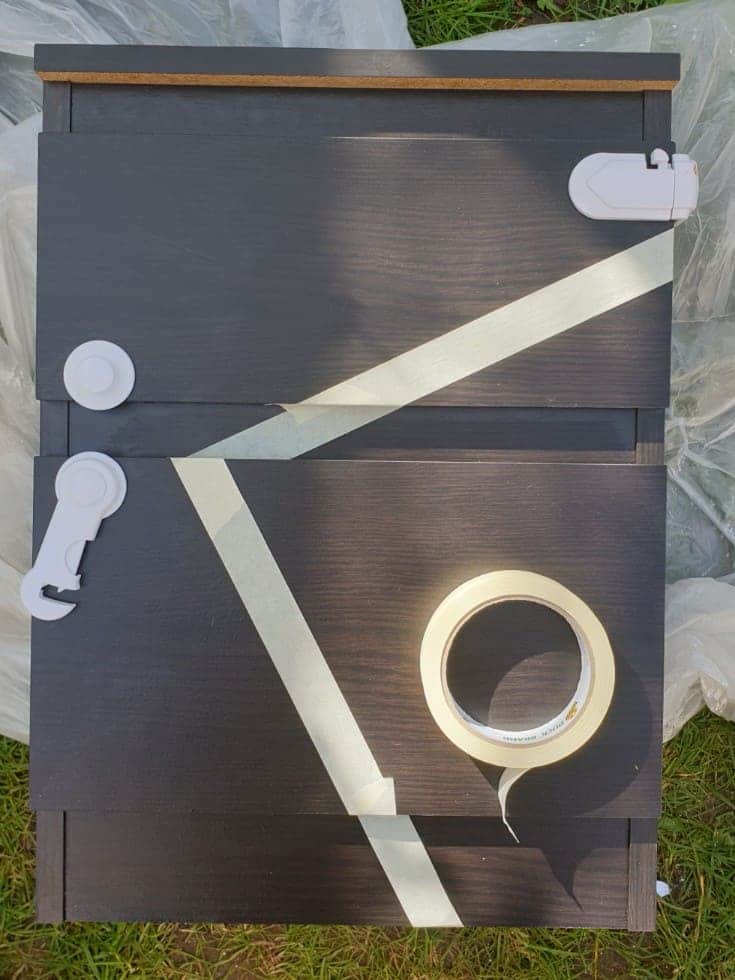
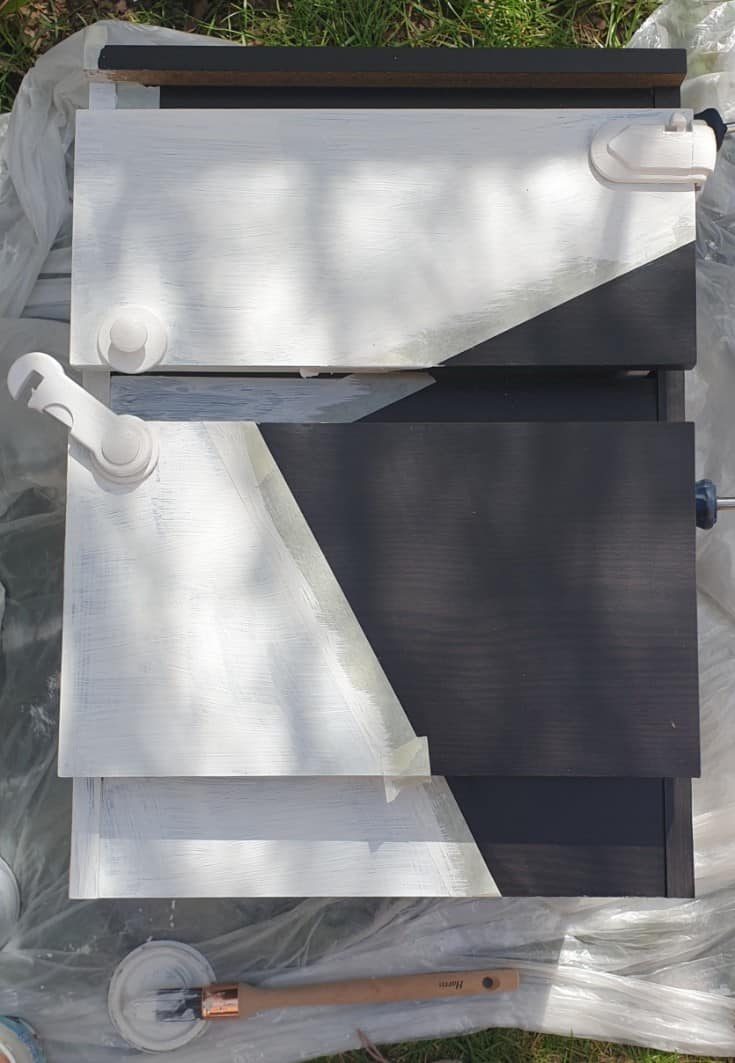
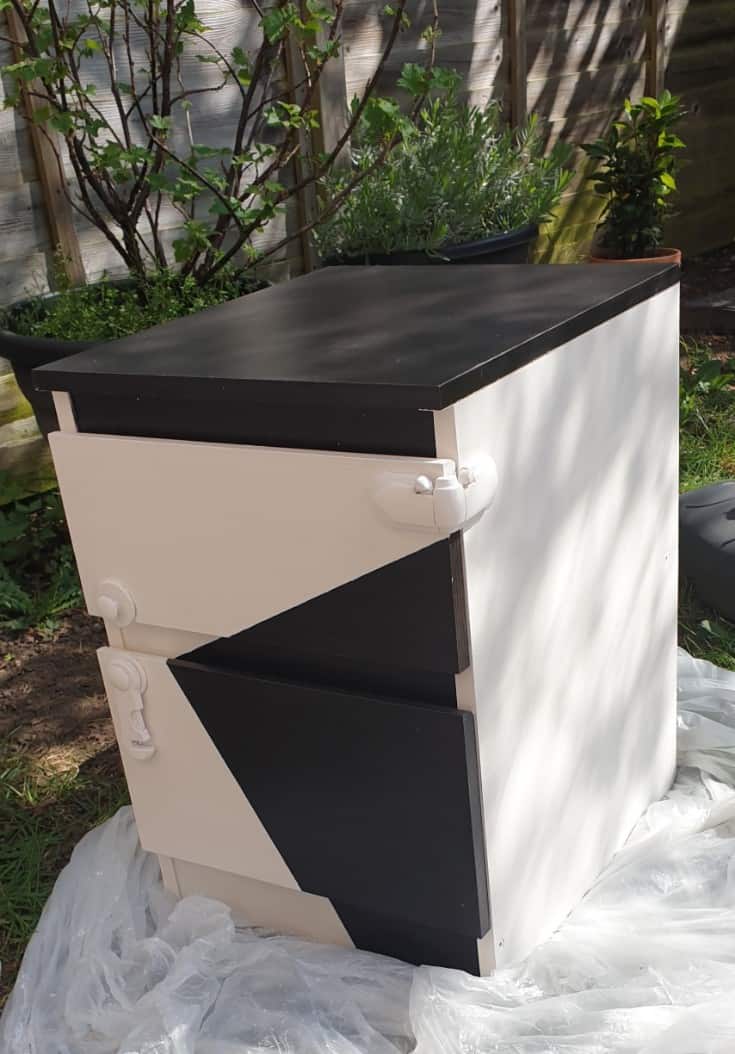
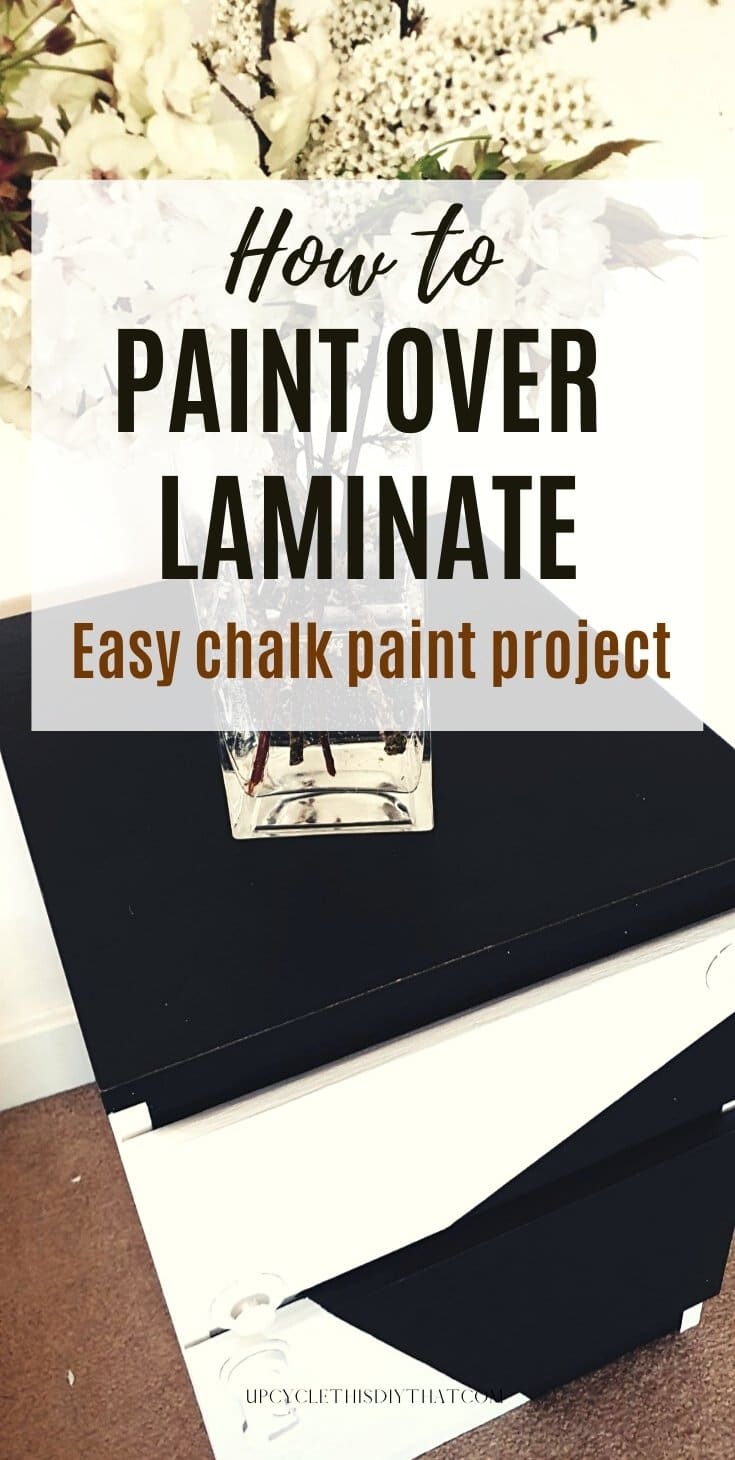
I’ve decided to match the colors of my standing desk(white and brown/black). And then to create a geometrical pattern at the front (keeping some of the original brown/black color) as well as keeping the top (same black/brown color)as it is while painting the sides white.
The pattern was going to be a mirrored image on the other piece, and I was keeping the same colors and style throughout all of my living room furniture.
I used the same chalk paint from Aldi as I used for my upgraded pallet coffee table.
I’m still considering adding some hardware, but my husband is reluctant, so I haven’t decided yet if I’m going to go with this idea.
Prep
First of all, before starting any work on furniture, prepare the space you’ll be working in. I mostly work in my garden, so I used a plastic sheet to work on. It was a very thin plastic and something that didn’t last long.
Next time I’ll be using either a thicker plastic or just buying some tarpaulin that is more durable and a lot cheaper.
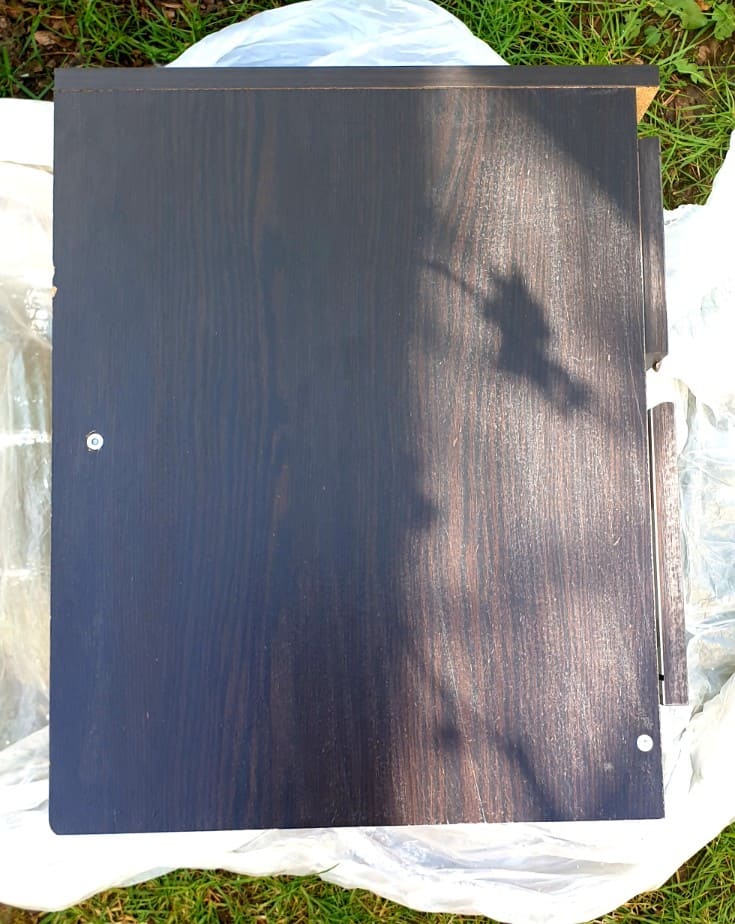
I cleaned the nightstand with some elbow grease cleaner and gently sanded both of its sides with 150-grit sandpaper.
I know that the idea behind chalk paint is no prep, but with laminate, you never know. I wanted to make sure the paint would adhere properly to the surface.
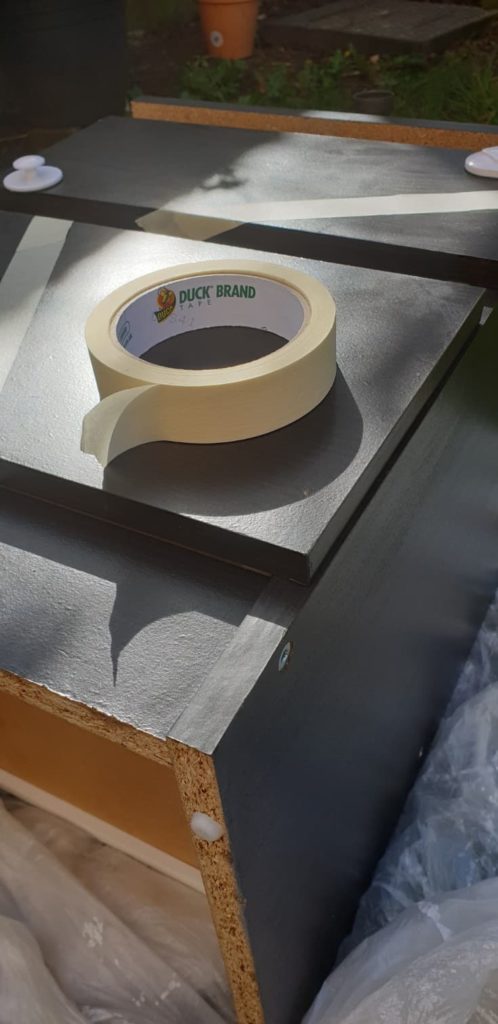
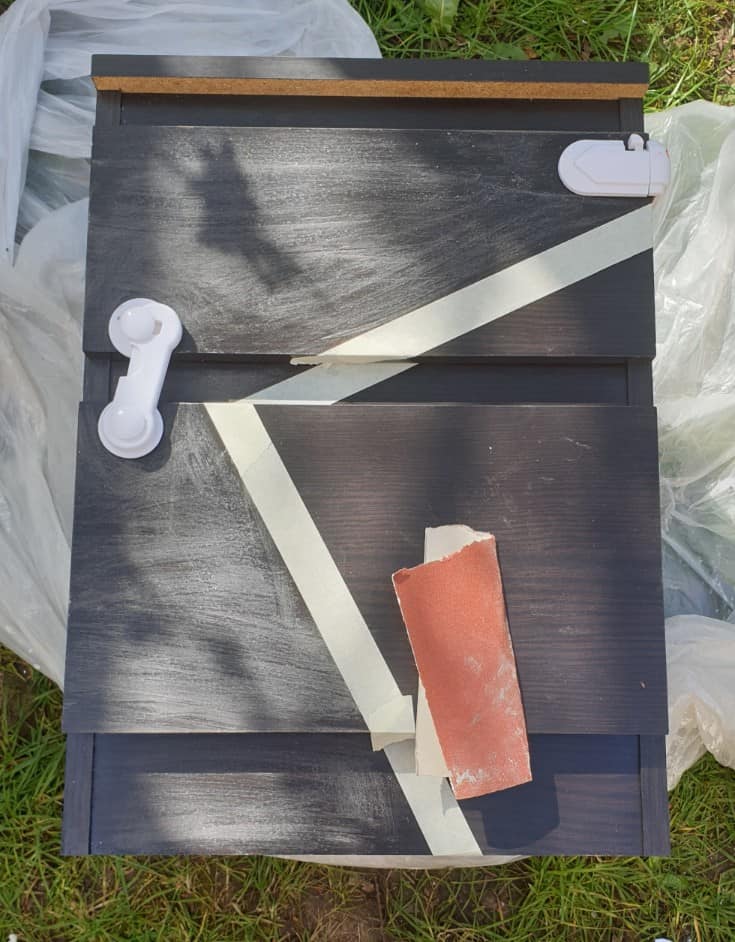
Next, using painter’s tape( I used Duck brand), I marked the pattern and sanded the side I wanted to paint. I wiped all the dust with a damp cloth and let it dry.
Painting
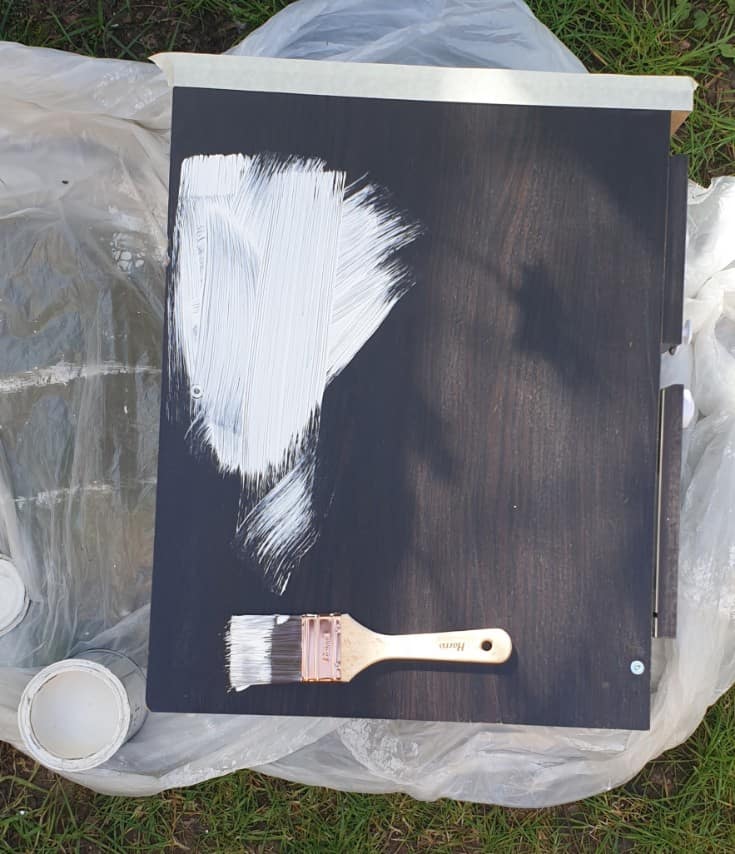
After painting the first layer going whatever way, I was wondering how many coats it would actually take to completely cover the blackish color. It was five(!)
I wasn’t expecting awesome results from this paint as it wasn’t the original Annie Sloan but five?! I’m definitely going to use a white primer/undercoat for the next piece.

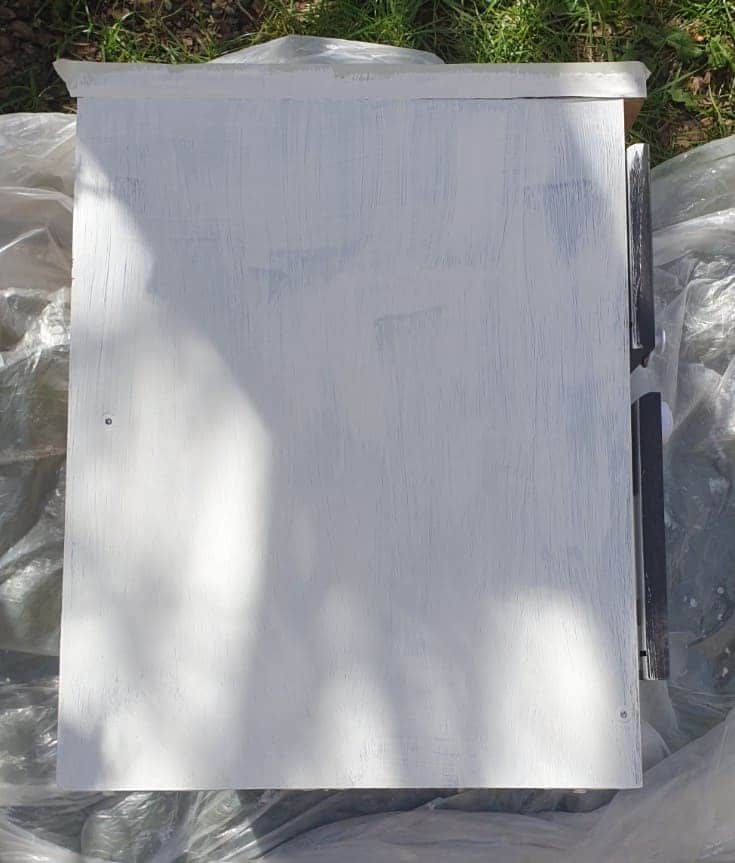
Luckily the weather was warm, and each coat dried fairly quickly. I didn’t sand between coats, so that was a time saver.
Starting from the second layer, I was going vertically along “the grain.” Chalk paint gives you a lovely, textured finish as long as you won’t sand it down heavily.
I did sand it at the end before sealing, but you could still see and feel the texture, which was what I was going for.
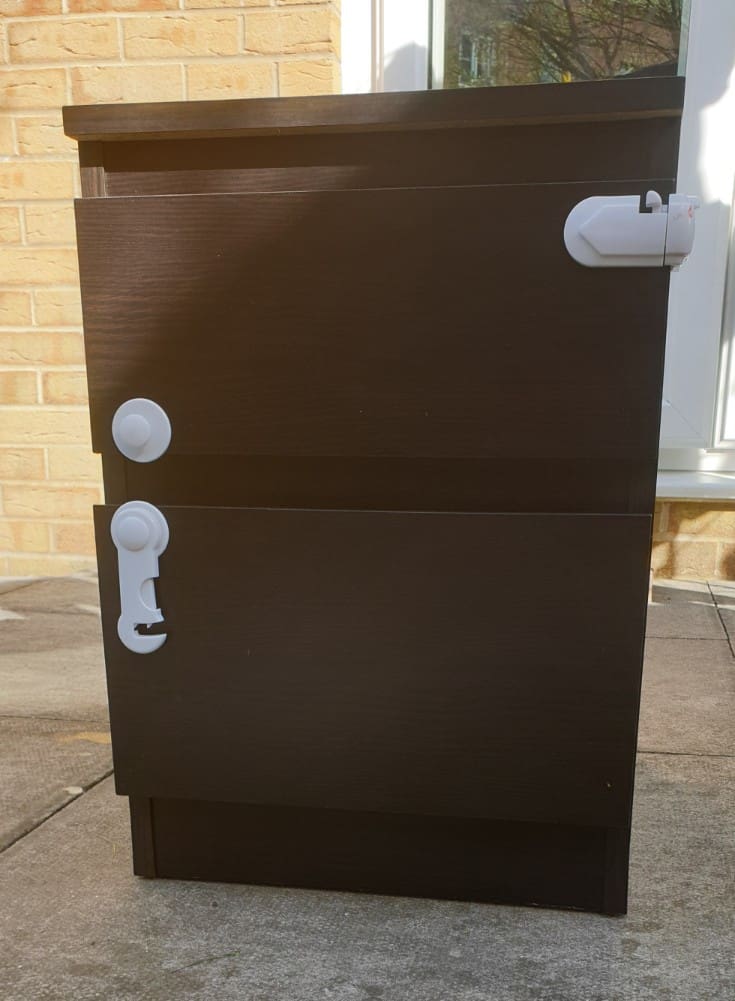
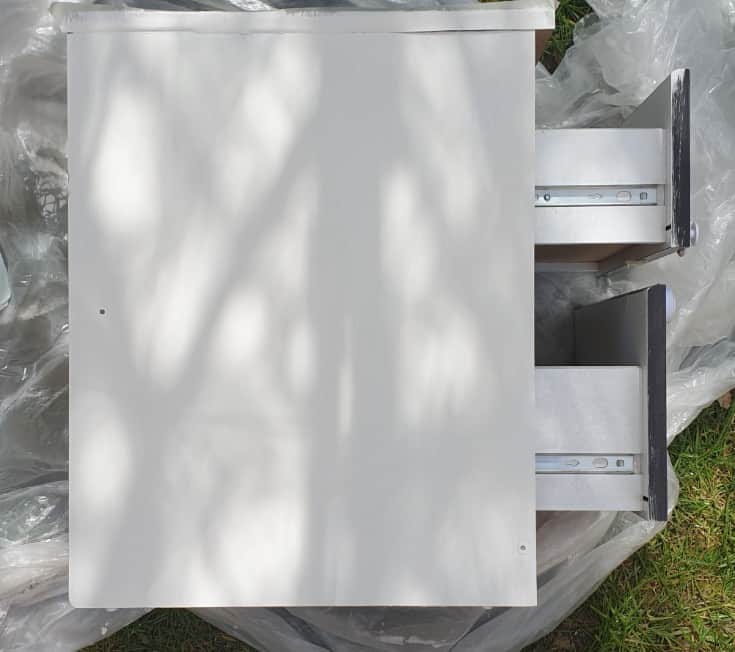
The drawers fronts were a bit more tricky since I didn’t take the drawers out, which required unscrewing them from the runners. And the baby proofing straps were glued to them.
I decided to leave the straps in place and just paint them as well (too lazy to remove them and deal with all the glue residue, hehe ;)).
After the first whichever way coat, I painted with the grain which was horizontal. They came out quite good I think.
Finishing
After all of it had dried, I sanded the surfaces gently with a 150 grit sandpaper and wiped the dust with a damp cloth. I removed the tape, which was supposed to prevent paint bleeding, but it didn’t completely do it.
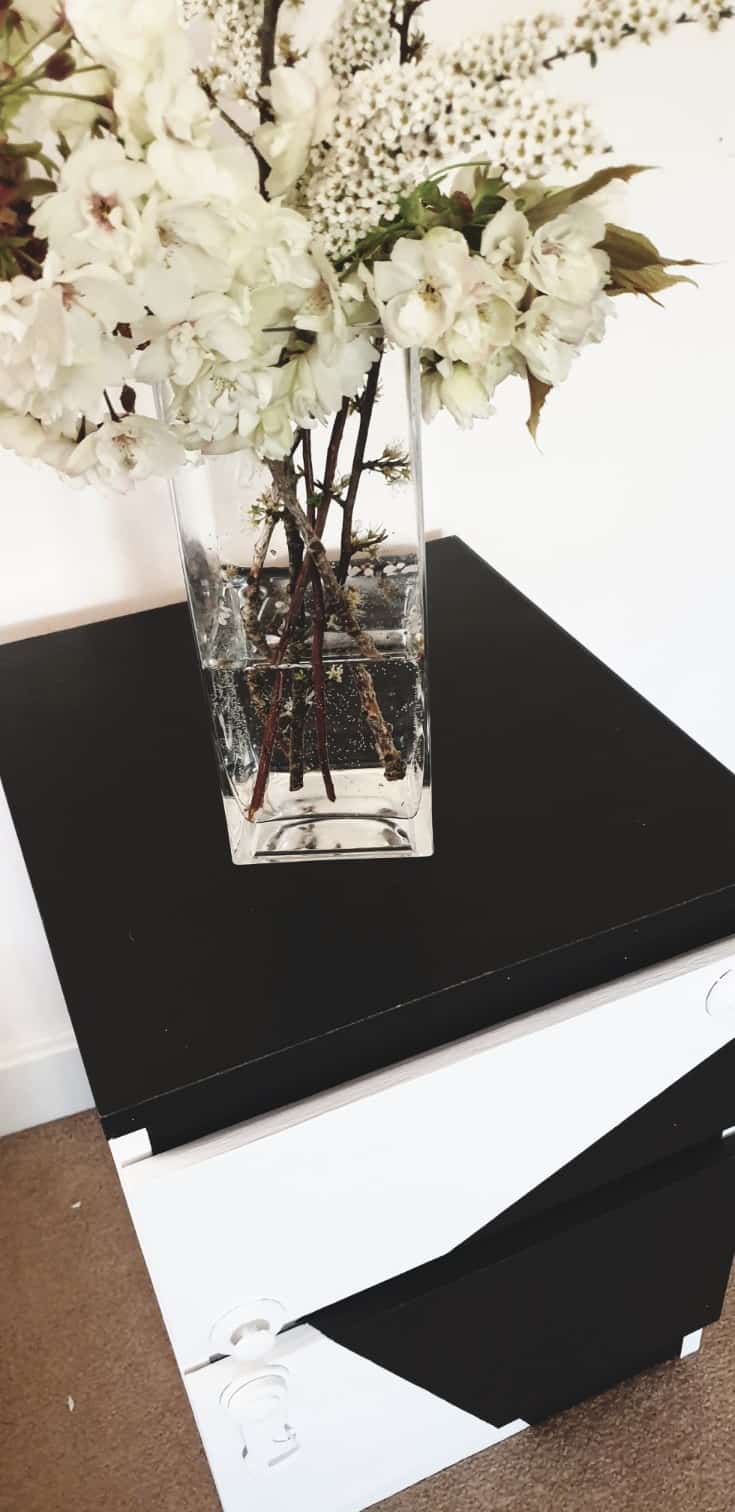
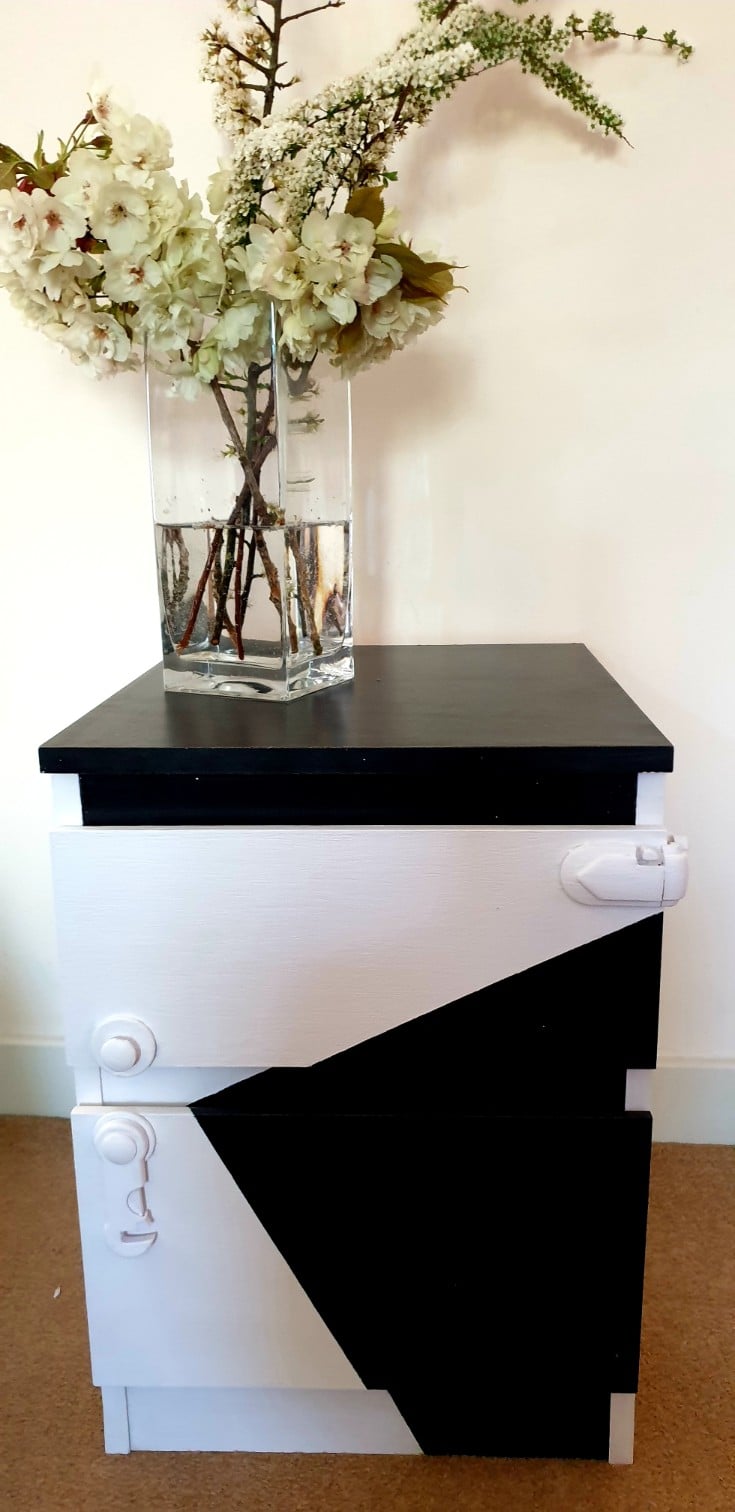
I still had some minor bleed, but it was easy to wipe off with a very damp cloth. Once it all dried, I put a layer of clear wax on, and then 10 min later, I buffed it with a clean, soft cloth. The final result looks pretty good to me.
Tip. If you want to have a very smooth surface, sand it gently with fine-grit sandpaper until the surface is completely smooth and the texture is gone.
Then seal it. For high traffic, use either the chalk paint lacquer or a water-based poly(sprayed or wiped on one).
If you want more details about painting furniture, I have a couple of articles that could help you out:
What is Chalk Paint and How to Use it – a Beginners Guide
How to Paint Furniture – the Ultimate Guide on Upcycling
Driftwood Finish Effect-Mirror Frame Makeover with Chalk Paint
I hope you liked this quick project about painting laminate furniture. There will be more to come soon. If you have any questions, just leave a comment below, and I’ll be happy to help you.
Oh, and don’t forget to pin this article to your furniture makeovers board, thanks!
Subscribe To My FREE DIY Newsletter!
Stay in touch and receive things like updates, special offers, new projects, tips, gear reviews, and more. No spam, promise!
By entering your email address, you agree to get an email newsletter from UpcycleThisDIYThat. I’ll respect your privacy, and you can unsubscribe at any time. For more details, review our Privacy Policy.