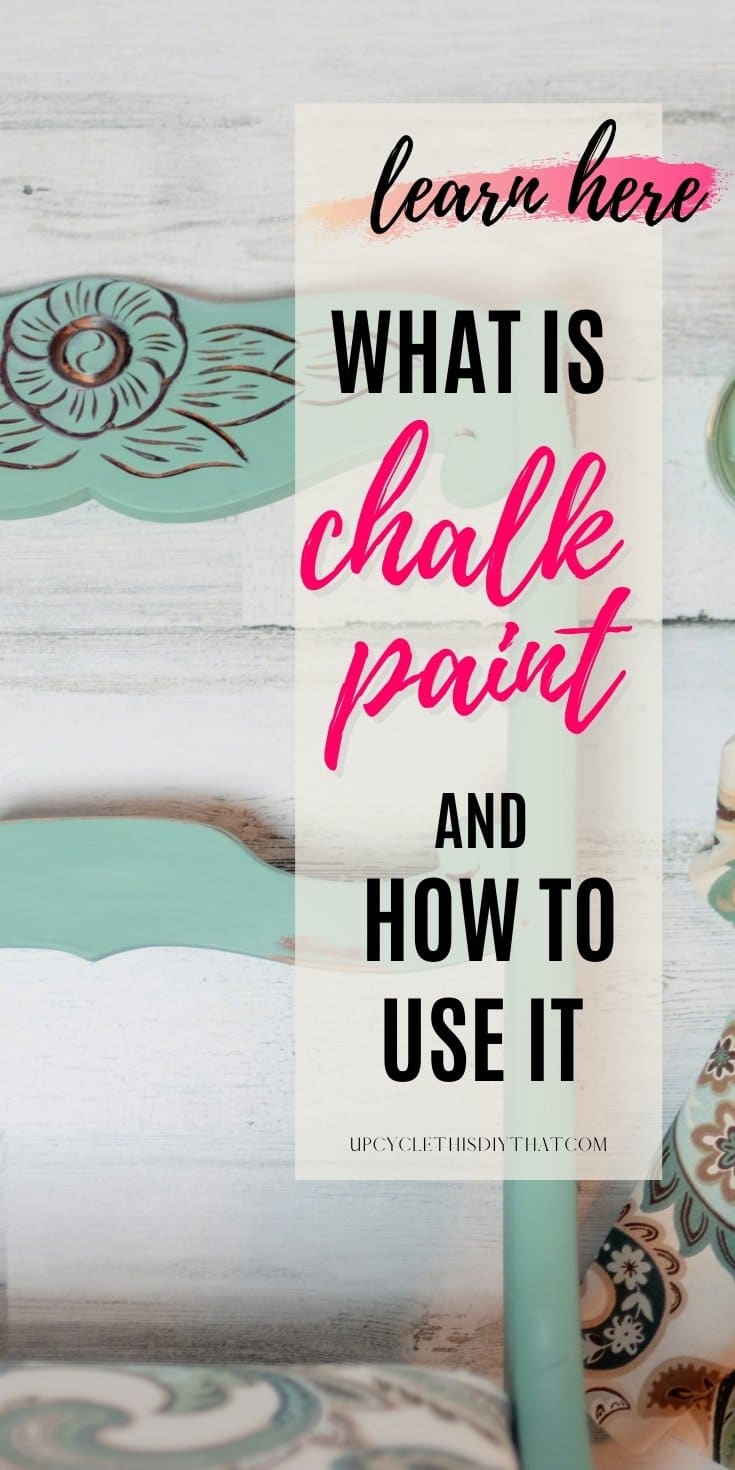
What is Chalk Paint and How to Use it – a Beginners Guide
This post includes affiliate links. If you decide to make a purchase through my link, I might get a small commission for it at no additional cost to you. Thank you for supporting Upcycle This DIY That!
If you are unfamiliar with chalk paint, you probably wonder what all this hype is about. When you go to Pinterest, it seems like all you can see there are chalk paint, upcycling, and distressing projects.
But that soft matte chalky finish paint can be used for just about anything. From rustic, vintage shabby chic styles to modern, bold, opaque finishes. From furniture to walls to kitchen cabinets, glass, and plastic. And most importantly is fun and hassle-free.
Want to know more? Read on to learn what chalk paint is and how to use it.
What is chalk paint, and how is it different
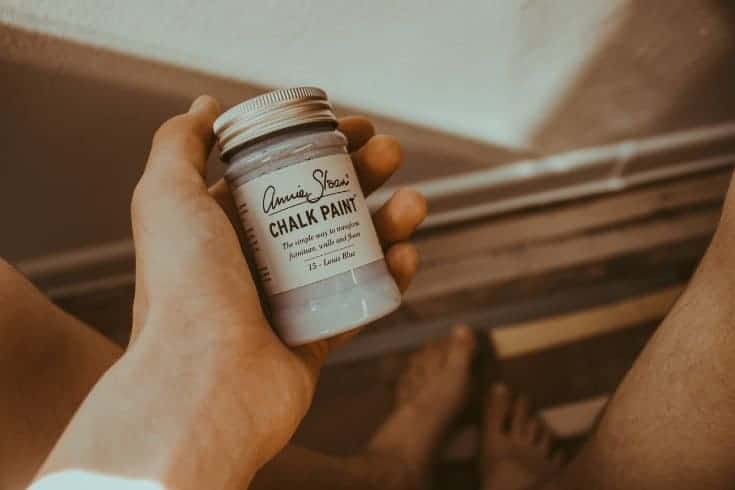
Chalk Paint was created and trademarked in 1990 by British artist Annie Sloan. It was created out of necessity. She couldn’t find anything that would suit her needs best. She was a busy mum who wanted a product to let her paint a piece of furniture, seal it, and put it back in place in one afternoon.
She wanted something that needed no prep, like sanding or priming. She wanted mixable colors without getting muddy or dull. Finally, she wanted a paint formula that adheres to pretty much any surface or material and can be used indoors and outdoors.
I can relate to this so much, so I’m utterly grateful she came up with this recipe for perfect paint. And if you look at it, it is perfect.
Not to be confused with chalkboard paint used for making a surface you can write on with a piece of chalk. This paint doesn’t need any prep work like sanding or priming. It cleans up with water like latex paint. It’s thicker, making it easier to use(less dripping and easy clean up). It also has a more forgiving beginner-friendly finish.
The brush strokes are visible, but that is part of the look. And it can be easily sanded or distressed, and you can use soft wax or chalk lacquer to seal it.
One thing that it’s absolutely freaking amazing is that it adheres to practically any surface. Even already painted one, including lacquers and a high gloss finish. Without any prep! Awesome!
What is chalk paint best used for
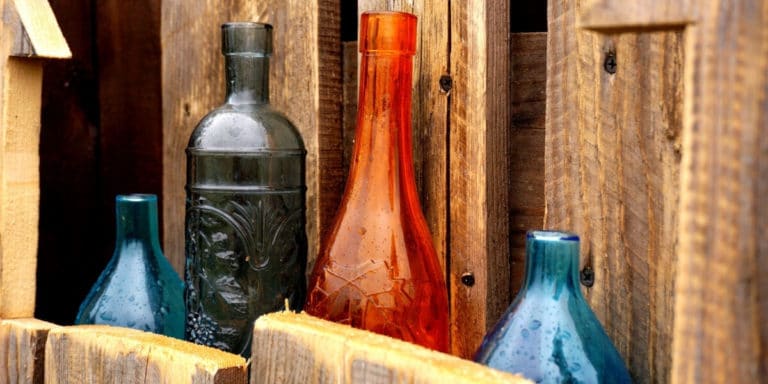
It can be used on fabric, walls, floors, metal, plastic, brick, glass, and even marble. It’s often used for kitchen cabinets, tables, and dressers, as well as sofas and drapes. The possibilities are endless, and you can transform your home literally with a lick of paint.
YOU MAY ALSO BE INTERESTED IN:
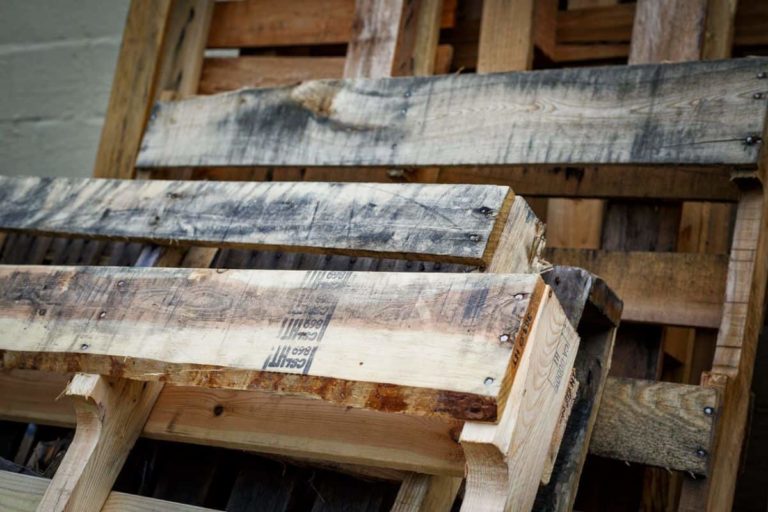
Staining Pallets and Wood-The Ultimate Guide For Upcycling and Pallet Projects
How to Paint Furniture
Removing Paint from Wood
Easy Driftwood Finish Effect-Mirror Frame Makeover with Chalk Paint
How to use chalk paint
This is pretty simple because the idea behind this paint was to be versatile and easy to use.
There is no need to prep(like prime or sand), but the surface should be dry and clean. In most cases, one coat of paint is enough, and you only want to sand it for super-smooth results(remember to wipe the dust off).
It is quick to dry- usually, only 1 hour between coats is required, and then apply wax to finish and buff with a cotton cloth once dried. For a more durable finish, use chalk paint lacquer.
You can touch up with the same color, and there won’t be any difference. And you can paint Chalk Paint over the wax and then wax it again.
A tip from the Annie Sloan website:
To get started, tip the pot upside down and shake before use. Then open and stir well. If the paint is too thick, just add a little water and stir. For the best results, we recommend using a good quality paint brush like the Chalk Paint® Brushes to apply the paint.
Chalk Paint Project Ideas
Since it’s trendy, there is a tonne of excellent chalk paint project ideas and examples. It shows how versatile this paint is. And what excellent results you can achieve.
Opaque results using chalk paint
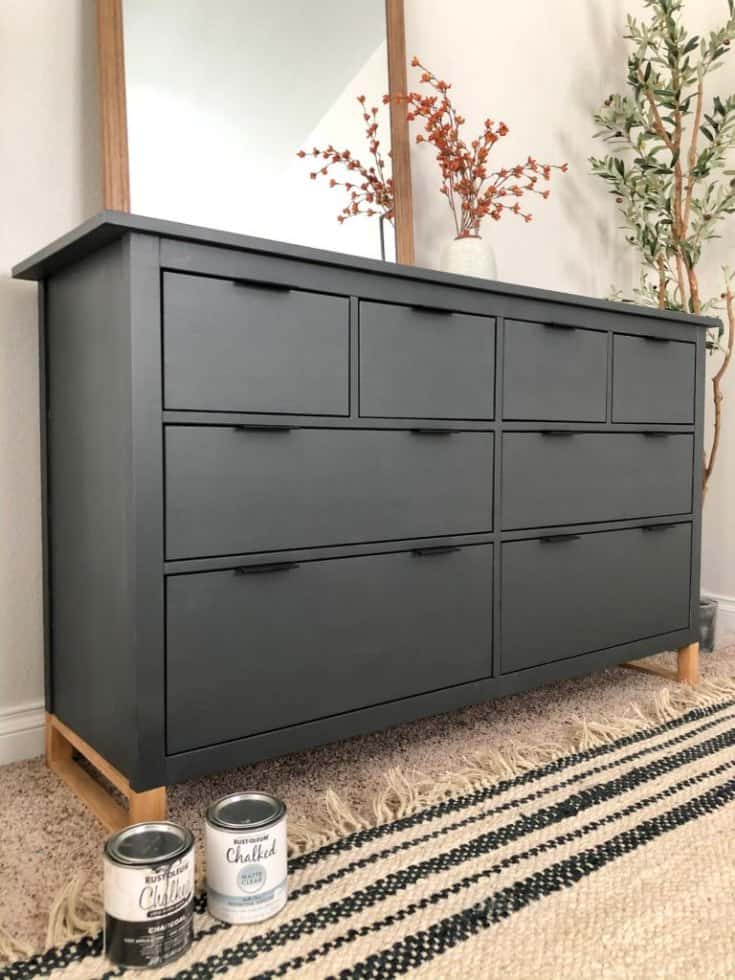
The project above comes from Angela Rose Home, and it’s an excellent example of beautiful opaque color achieved with chalky paint.
layered and distressed
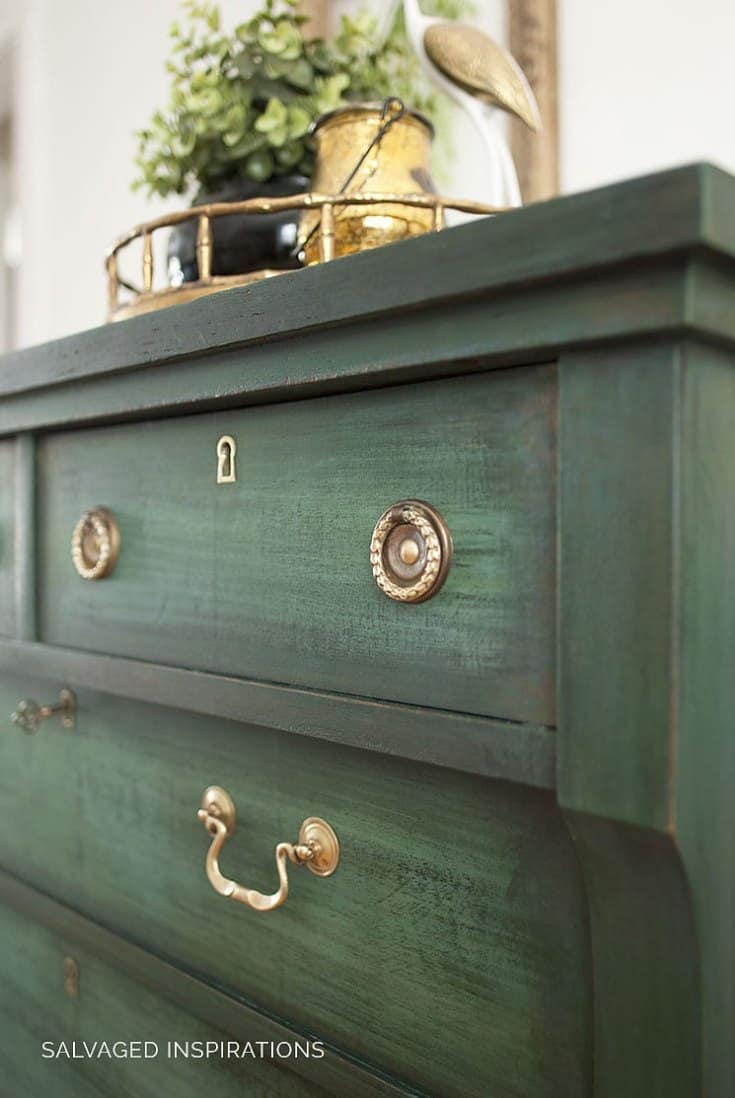
A beautifully executed chalk paint layering and distressing from Salvaged Inspirations.
fabric
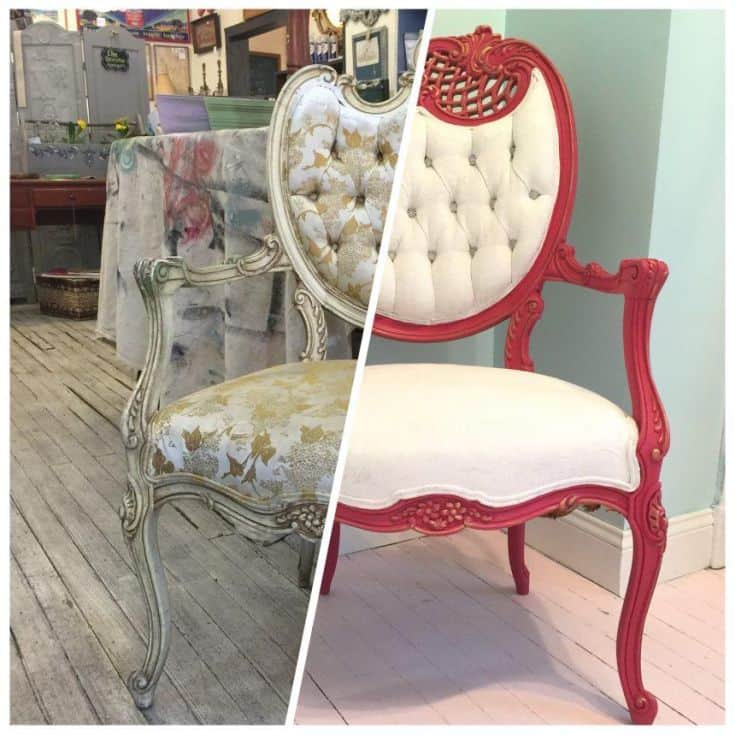
This fantastic example of painted fabric comes from Suit Pieces.
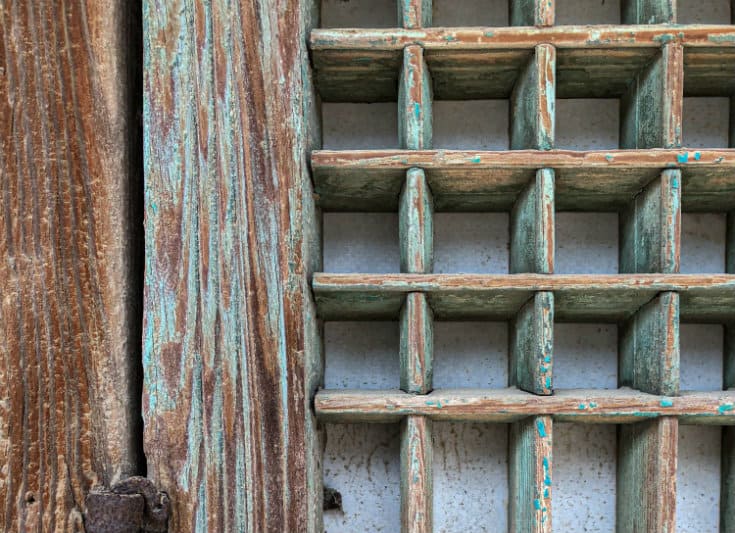
Walls and brick walls
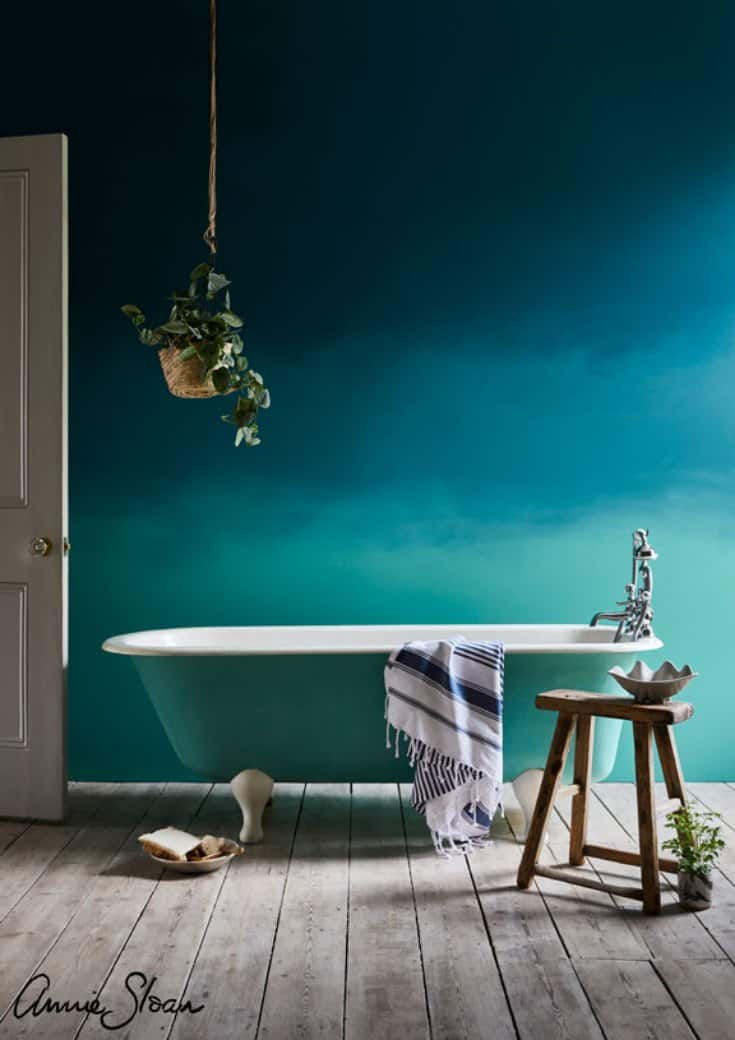
I absolutely love this beautifully painted wall. It comes from inspirations on the Annie Sloan website.
kitchen cabinets
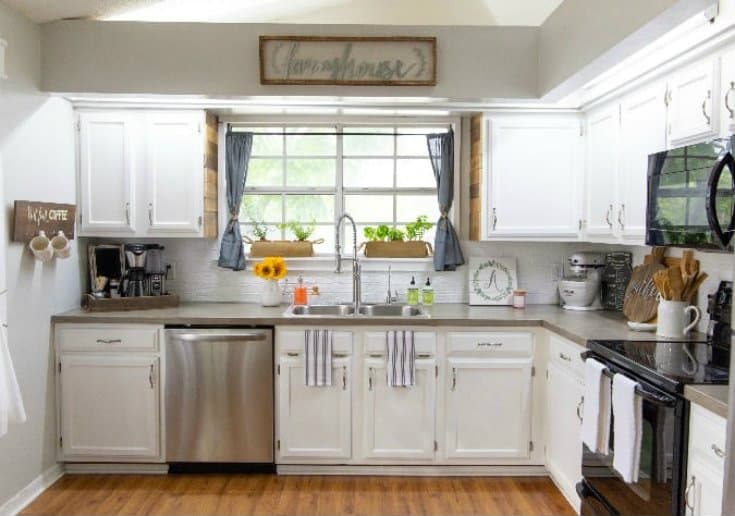
This excellent example of using chalky paint to refresh kitchen cabinets comes from Simply Today Life.
Where To Buy Chalk Paint, and how much does it cost?
There are many places online and offline to buy this type of paint. However, if you want the real thing, you can only buy it from Annie Sloan. A 32-ounce can sell for $34.95, so it’s a bit pricey.
If you’re not willing to spend that much, many similar copycat brands are selling chalky finish type of paint. The most extensive choice would be online, of course, but you can still get it in several stores.
Home Depot (in-store and online) sells several brands like Rustoleum (30 oz for $19.98), Behr( 1 quart for $19.99), and Decor Art(16 oz for around $16). But, of course, you can also purchase many, many other brands over at Amazon.com.
Then a Magnolia Home offers very lovely, beautiful colors($32 per quart).
You can find Valspar Chalky tintable paint that can be made in over 40 different colors at Lowes. And Target sells Rustoleum chalked spray paint for about $6.50 for 12oz.
Walmart has a Kilz brand in stock at $20 for a quart. In addition, you can find other small companies selling this type of paint, like CeCe Caldwell, American Paint Company, Shabby Paints, and Miss Lillians. These are a little harder to come by in stores but readily available online.
How to Make Chalk Paint-DIY recipes
If you feel that you can’t justify the cost of chalk paint or have a lot of projects to do, you can try making your own chalky paint. It’ll definitely make it more affordable.
The recipes I’ve found are very easy to make, and the results are just as good as the original in most cases. They work best with latex paint in eggshell or satin finish, but any acrylic paint will work too.
Best homemade chalk paint recipes
Baking Soda Recipe
- 1/3 cup of baking soda
- 2/3 cup paint(latex)
This recipe is best for an old, weathered, distressed country look(especially furniture). The texture of the mix is gritty, and the paint needs to be sanded down to get smoothish results. The finish is chalky but not as smooth as you’d expect from chalk paint.
Non-Sanded Grout Recipe
- 1 cup of paint
- 2T unsanded grout(white)
- water to mix the grout
This recipe dries fast, mixes well, and applies like branded paint, but because it dries fast, it thickens quickly too. So if you choose this one, only make enough for immediate application.
Distressing needs sanding, and the finish is like a branded paint-smooth and chalky.
Plaster of Paris
- 3 parts paint
- 1 part plaster of Paris
- water to mix
This one makes a smooth paste that applies like branded chalk paint and can be stored and used later. It has great consistency. Distressing needs sanding, though, but the finish is very much like a branded paint-smooth and chalky.
Plaster of Paris + Calcium Carbonate
- 2T calcium carbonate
- 2T plaster of Paris
- 2T water
- 2 cups of latex paint
- mix the powders and water and add to the paint
This recipe is similar in texture and application to the one above. But because the finish is hard, it’s not recommended for distressing. The plus side is that it can be used for higher-traffic areas.
Calcium Carbonate
- 2 parts of paint
- 1 part calcium carbonate
This recipe is very popular, and I’m not surprised why. It’s fast-drying(like 30 min fast) and has excellent consistency and coverage. The application and finish are like a branded paint-smooth and chalky and it can be stored for extended periods as it doesn’t thicken much over time. It’s excellent for distressing but needs sanding, while the branded paint can sometimes be distressed with only a wet cloth.
Chalk painting tips for beginners
#1 No Prep(sanding or Priming) Required
As you must know by now, one of the reasons behind creating chalk paint was the need for no prep or priming. So that’s it. This paint doesn’t require any prep to achieve excellent results.
If you have an old piece of furniture you want to upcycle, you need to make sure it’s clean and dry, and you’re ready to go. No more dreading the preparation and sanding. No more sanding dust particles everywhere, no more mess.
#2 Perfect imperfection
The fantastic thing about chalk paint is that the finish doesn’t have to be perfect. That’s why it’s terrific for beginners and fantastic for distressing. You can layer the paint and sand through the layers. You can crisscross the brush strokes; the uneven surface will give the piece even more character. No need to stress about it
#3 Chalk Paint Price
While the original chalk paint is expensive, you can find cheaper alternatives on the market. There are a lot of choices in brands as well as colors. And, of course, the most affordable option is to make a DIY version of chalky paint yourself. So no excuses not to give it a go 🙂
#4 to wax or not to wax?
Like in the case of regular paint, the topcoat is a step you don’t want to skip. Wax is best used for chalked paint to seal it. You can go with a clear one or add more character and depth with a colored one, like black or brown.
Use a cloth to put it on and another to buff and remove excess. Tip: Use a couple of clean old cotton socks, and thank me later 🙂 Oh, and remember to distress before you seal.
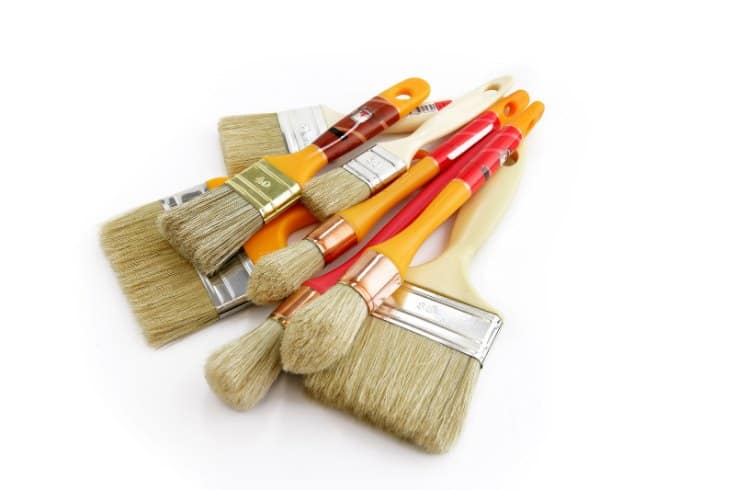
#5 Brushes
You can buy paintbrushes that are made explicitly for chalk paint, or you can get cheaper ones. You should invest in a quality brush or two that will give you excellent results and last you longer. However, if you choose the less expensive option, remember to buy a brush with synthetic bristles.
#6 Distressing a Piece The Easy Way
Distressing with chalky paint is pretty popular. Just going over to Pinterest will show you how much. It’s crazy. While there are many tutorials on how to do it, the main point is to keep it simple, especially if you’re a beginner.
Use two contrasting colors or just one if you want the wood to be visible. Paint them on top of each other. Distress the piece in places where the paint would naturally wear off, like edges, corners, and high-traffic areas.
You can use sandpaper to sand off the top layer. Or use Vaseline/wax in places you want the paint to come off and just wipe off the paint. If you want to know more, I recommend my article on how to distress wood, where you can find 16 different distressing techniques.
FAQS
If you want to learn more about using chalk paint, here are some faqs that could help you. If there is a question that you may have that is not answered here, please leave a comment, and I’ll try to get back to you asap.
How much can One cover? Is it worth the price?
In the case of chalk paint, just the quality is worth the price. One can covers around 140 sq feet and will last you ages as you only would do 1-2 coats at a time. But most importantly, it will save you time.
Can you use chalk paint in a sprayer??
The answer is yes! This is an excellent way to achieve a smooth finish without brush strokes. And there isn’t much overspray either, so little paint is wasted. However, you’d probably want to water the paint down a bit to get the best results.
Can you use it on kitchen cabinets, dining tables, etc.? How durable is it?
Yes, you can use it on any surface. It will adhere to anything. As long as you remember to seal properly with wax, you’ll get a very durable finish. For high-traffic areas, paint at least two coats of paint and 2-3 coats of wax or even four if using poly for a topcoat.
Or go for Chalk Paint Lacquer, which is excellent for high-traffic traffic surfaces-durable and wipeable. In addition, it has UV protection so that it can also be used outside, and colors won’t fade.
Can you seal chalk paint with anything other than wax?
While soft wax is the most popular way of sealing chalk-painted surfaces, you can use any water-based topcoat like brushed-on Polycrylic. But, again, any brand should be fine. Make sure you choose the sheen you want, as they vary from satin to high gloss.
You can also use Annie Sloan Chalk Paint lacquer in matt or gloss. It’s great for kitchen cabinets or tabletops- durable and wipeable.
Is chalk paint only for heavily distressed finishes?
You can use it as you, please. While this paint is popular for a distressed look, you can achieve many other results with it, from totally opaque to layered and blended as well.
Do you have to wax in between layers if you’re using two colors?
You don’t have to, but you can if you want. Usually, you just paint the two colors on top of each other and distress with a sanding sponge until the bottom layer is visible.
I’ve had some trouble with bleed through. How do you fix this, or what approach should I take?
I’m just going to refer to Annie Sloan here:
If you see a stain bleeding through the paint, apply a coat of clear shellac (knotting solution) directly over the paint you have already applied. Treat the whole affected surface to avoid any patchiness in the final finish. One or two coats of shellac applied evenly with a cloth pad will block the stain.
Can I mix chalk paint colors?
When using Chalk Paint, you can mix any colors together without risking them becoming mudded or dull. That was one of the ideas of Anie Slone when she developed her paint.
Summary
Chalk paint is very versatile, easy to use, and forgiving, even for beginners. You can achieve all sorts of interesting-looking pieces that are very unique, from furniture to fabric to kitchen cabinets, tables, and even walls and floors. The imagination is the limit.
Although it doesn’t require any prep, make sure your surface is clean and dry, and don’t forget to seal it with a top coat of your choice for durability.
I hope you enjoyed this article, and I hope I’ve helped to shed some light on the chalk paint topic. Don’t forget to pin it to your DIY painting furniture board.
Subscribe To My FREE DIY Newsletter!
Stay in touch and receive things like updates, special offers, new projects, tips, gear reviews, and more. No spam, promise!
By entering your email address, you agree to get an email newsletter from UpcycleThisDIYThat. I’ll respect your privacy, and you can unsubscribe at any time. For more details, review our Privacy Policy.